Accounts payable is a vital part of a company’s operations, but issues like data discrepancies or manual follow-ups can disrupt the process and result in costly delays.
Pipefy is a business process management solution that takes the guesswork out of building workflows at scale, from start to finish. To help teams get started, Pipefy’s template library offers free and customizable plug-and-play smart form templates for a wide range of departments, including finance teams.
But in order to build an effective accounts payable process, it’s important to start with the best foot forward — and Pipefy’s accounts payable smart form template makes that much easier.
| Common accounts payable issues | How Pipefy Forms solves them |
|---|---|
| Slow processing time |
Track due dates to keep on schedule, and automate tasks with ease by setting triggers and actions |
| Matching errors and missing invoices |
With required fields and attachments, standardize the intake process so no detail is missed or mismatched |
| Manual follow-ups |
Set triggers and automatically send messages to stakeholders |
| Unauthorized purchases |
Assign approvers to review purchasing requests |
Definitive Guide to Workflow ManagementDownload guide
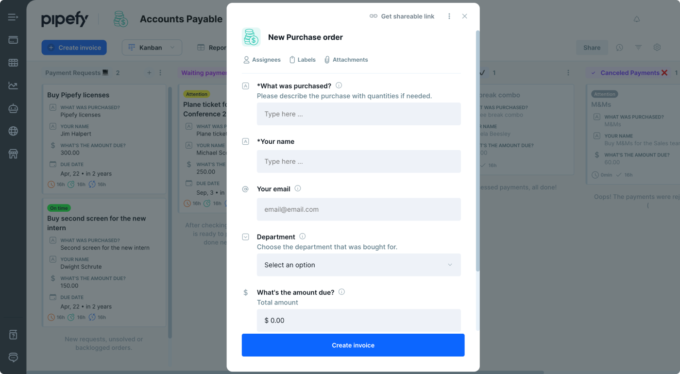
What are Pipefy Forms?
Forms capture data from internal or external users, can be customized to include specific fields and require certain information, they initiate the AP workflow and consolidate data into a single source of truth.
Pipefy Forms help individual contributors and small teams efficiently manage requests at scale. Pipefy’s pre-built, customizable AP form is included with the accounts payable template that’s available to all Pipefy users.
The smart form connects internal and external requests directly to the AP process in order to minimize errors, automatically set AP workflow in motion, prevent delays, and reduce back-and-forth communication by eliminating missing information.
Benefits of using Pipefy Forms vs. spreadsheets for accounts payable process
| Spreadsheets | Pipefy Forms |
|---|---|
| Manual data entry into spreadsheets, and repetitive copy and pasting of information which can lead to errors |
Receive organized and standardized information |
| Asking people for additional details |
Include required fields so nothing gets left out |
| Missing important demands or follow-ups |
Put simple requests, orders, and applications into action |
| Jumping between different documents and applications |
Seamless integration into accounts payable workflow and existing stack |
How Pipefy Forms work (and how to build one)
The accounts payable workflow can be initiated with a form. This is especially helpful for finance teams that manage a high volume of AP requests, businesses that expect their AP workload to scale, or teams struggling with missing information or inconsistent AP workflows.
The AP form serves as the starting point for getting an invoice paid. It’s simply a matter of adjusting the form so that it captures all of the information your team needs to move the workflow along. A drag-and-drop interface makes this fast and easy so that anyone with permission can modify or create forms as needed. Adding rules to the form ensures that all fields are completed before the workflow continues.
Once a form is completed, the accounts payable workflow begins and the information is automatically routed to the right person. Any data captured by the form is added to your workflow system and available to anyone with permission.
Once this data is captured, it becomes a “card.” (A card is simply a visualization of the data in a particular item. Each AP request will have its own card.)
There are two ways to create an accounts payable form: using a drag-and-drop interface or using a pre-built template.
In order for the card to be added to and moved within the workflow, the form will need to include all the information related to certain payments. Whether you decide to start from scratch or use the Pipefy Form included with the accounts payable workflow template, follow these steps to start building and customizing your own.
Step 1: Gather important information for form fields
Requests that arrive with missing information are a common issue for the accounts payable process. Capturing data correctly the first time it’s requested makes reporting easier and avoids any process lags due to information gaps.
This step is fundamental to the process and requires collaboration with the entire team in order to gather the details needed for the form. This includes information like:
- Requesters (names and emails)
- Type and amount of purchased goods or services
- Payment amounts due
- Supplier account numbers, names, and emails
- Invoices
- Approvers (internal)
The pre-built accounts payable template comes with some of the required fields already included, so be sure to review the template and fill in the information gaps. Once you have all the information you need, it’s time to make it your own.
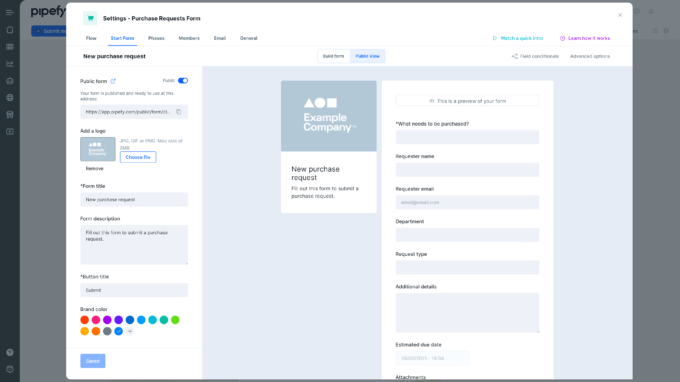
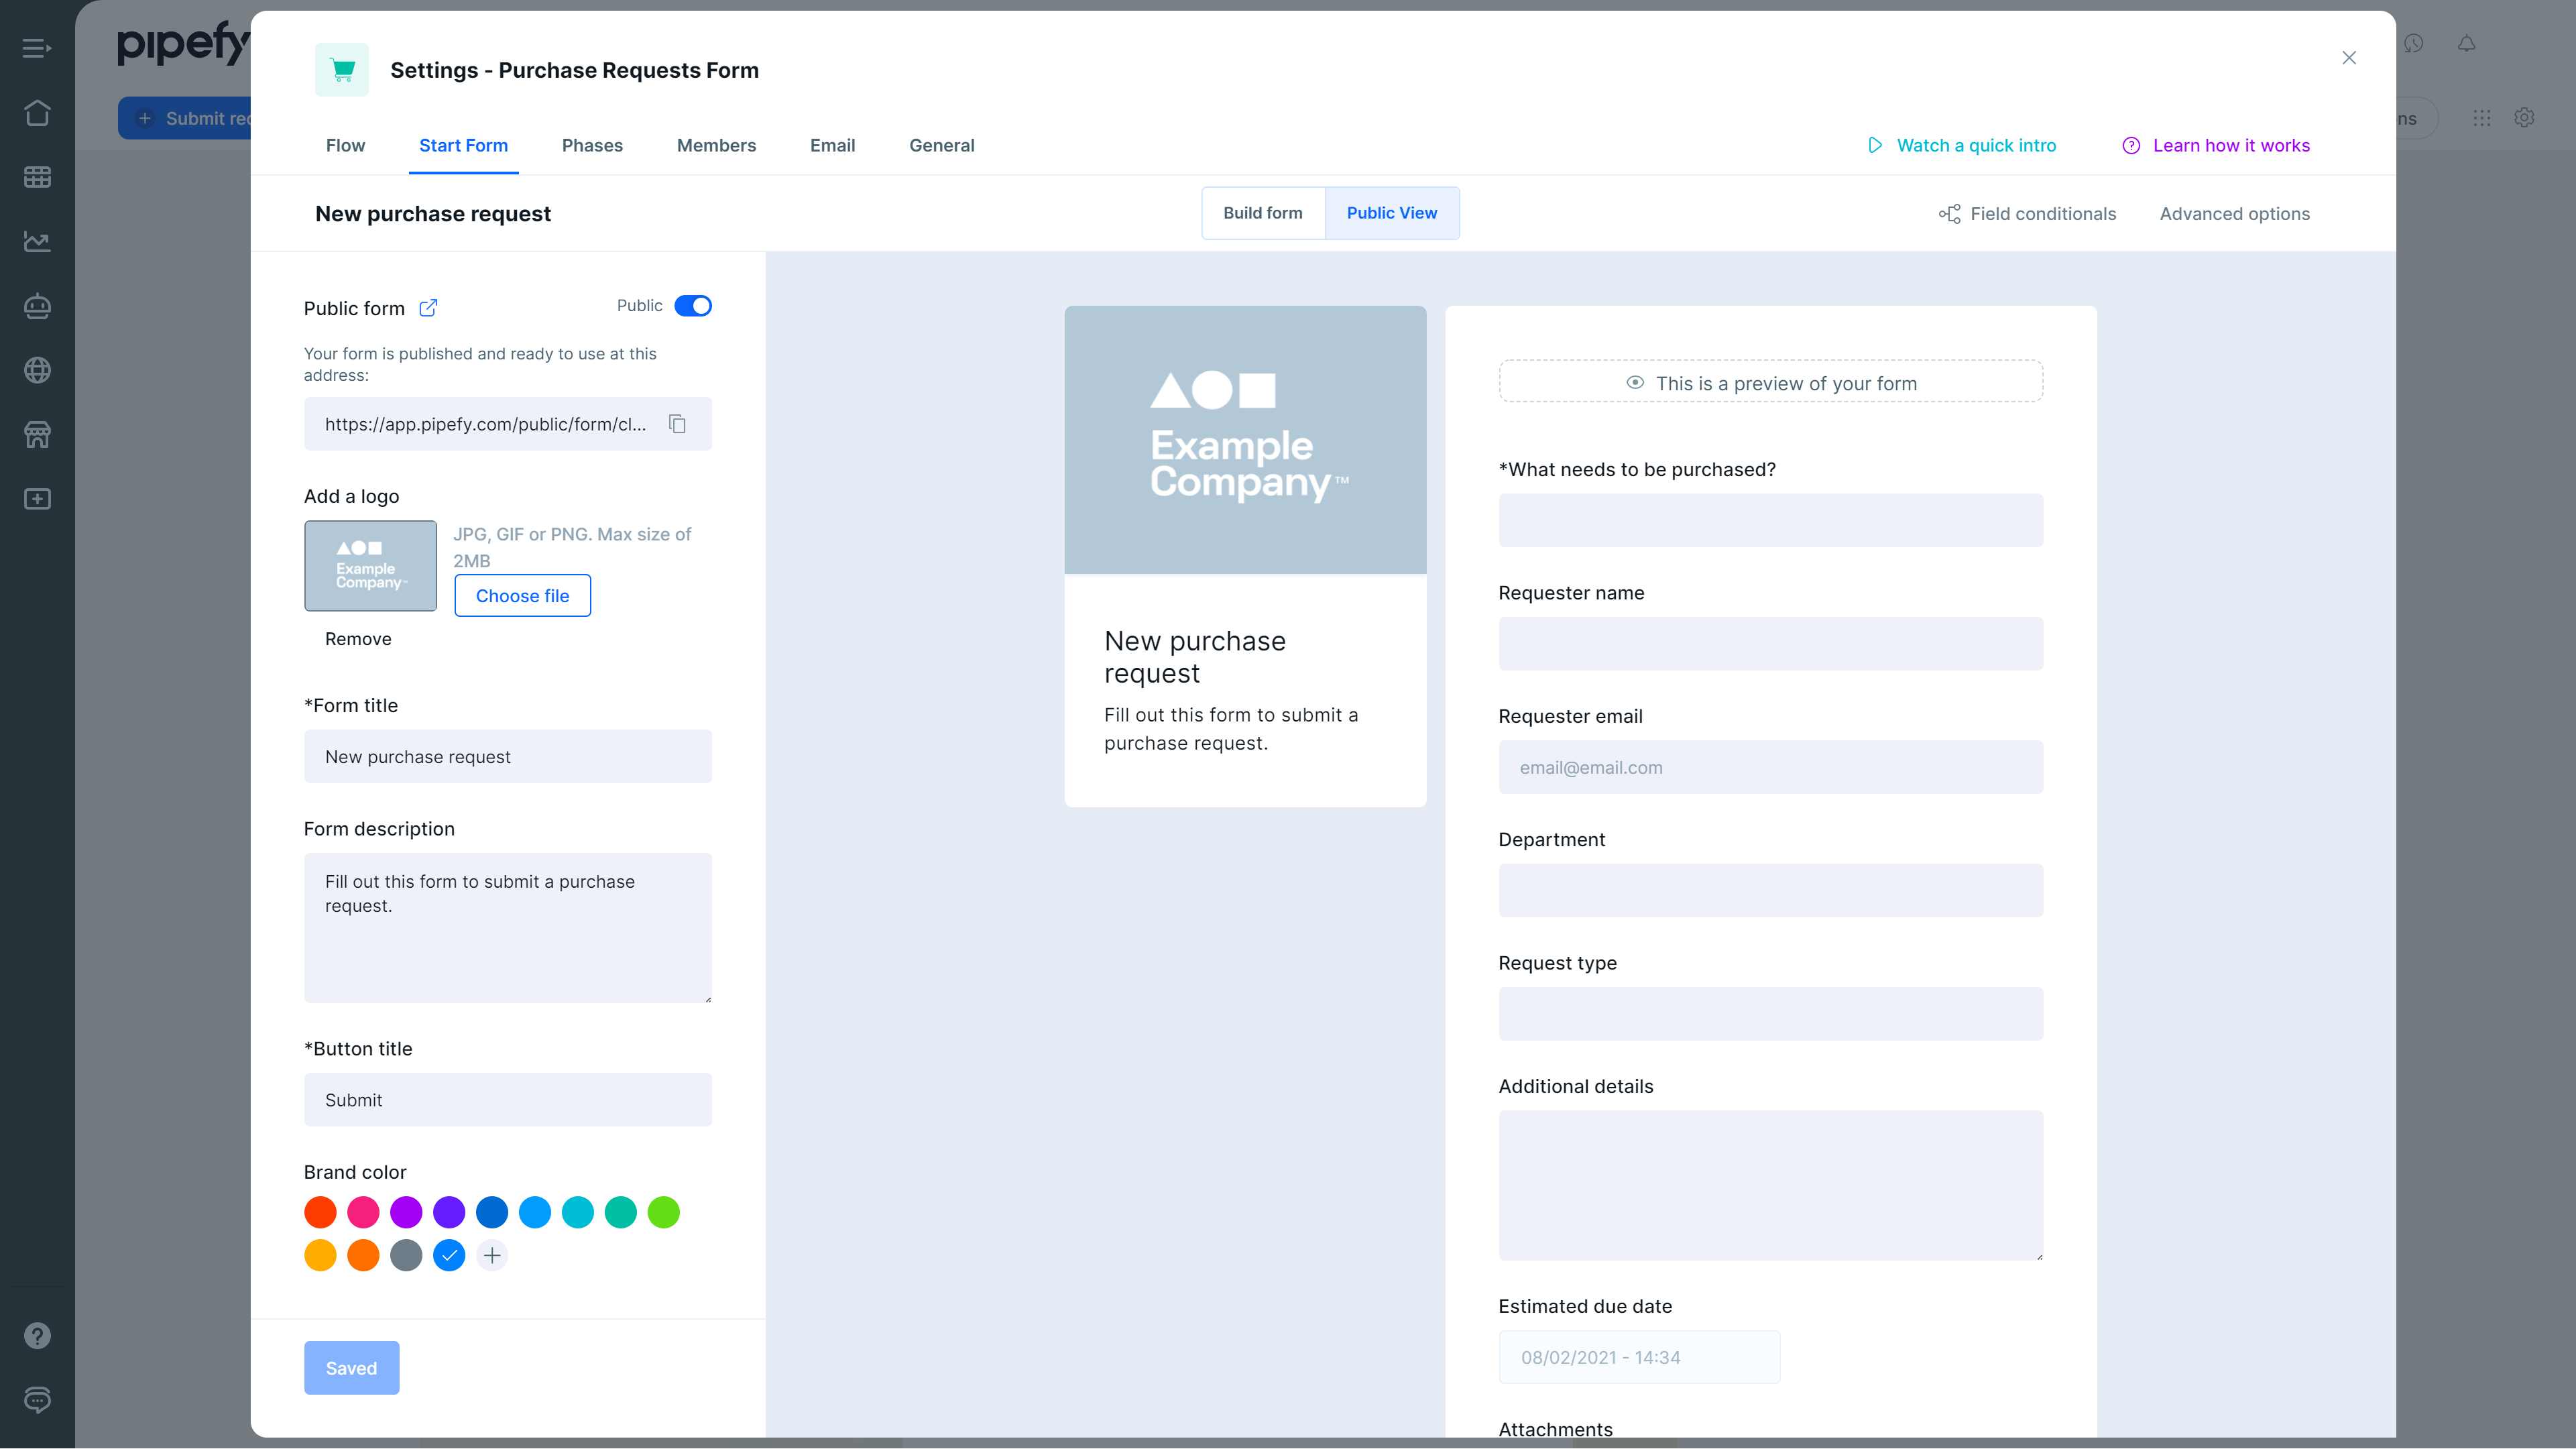
Step 2: Create and customize your form
The accounts payable form template comes with some fields already pre-built, but one form doesn’t fit all. To customize your form, open your forms and select edit.
Using the drag-and-drop options to the left side of the form, select the additional fields you’d like and add them to your form. Not sure what each field does? Here’s a list of helpful field options:
- Timelines: Use the date and datetime field to include deadlines due on specific days, months, hours, and minutes.
- Short text vs long text: Short text is great for things like manually entering a name. Long text is ideal for descriptions or explanations.
- Radio select: Great for choosing one option out of a group of items.
- Dropdown select: Standardize the intake process and add a list of options in which only one option can be chosen; similar to the radio select function but visually different.
- Checkbox: If there’s more than one answer or option that can be selected, add a list of options to be checked.
- Attachment: When dealing with invoices, be sure to include this field to attach files.
Once the required fields are added, personalize it further by adding a company logo or background image. You can also edit the title and description to really make it your own.
Best practices for improving the accounts payable process
- Keep it clear and simple. Your form shouldn’t read like the next great novel. Only include the fields that are necessary and eliminate any unnecessary fields. To ensure that requesters know what to provide, make sure each form field is clear. If your fields need to be further defined, try using the help text or description feature
- Use field conditionals. Field conditionals can be used to create more complex rules by adding more conditions in the scenario. For your accounts payable form, you can include an approval request when a value in the currency field is over a specified amount.
- “Hack” your forms. Also with field conditionals, you can skip or hide required fields based on the value of a previous field, request more information based on certain conditions in previous fields, and make forms/phases compact by only asking for more information when needed.
Improve accounts payable with Pipefy Forms
Organize and optimize your accounts payable process with Pipefy Forms. In addition to standardizing your data collection and tracking key details, Pipefy’s no-code interface lets you easily create smart forms to eliminate endless follow-up email threads and keep up with new activity with automatic notifications — providing your team with full visibility of information.


